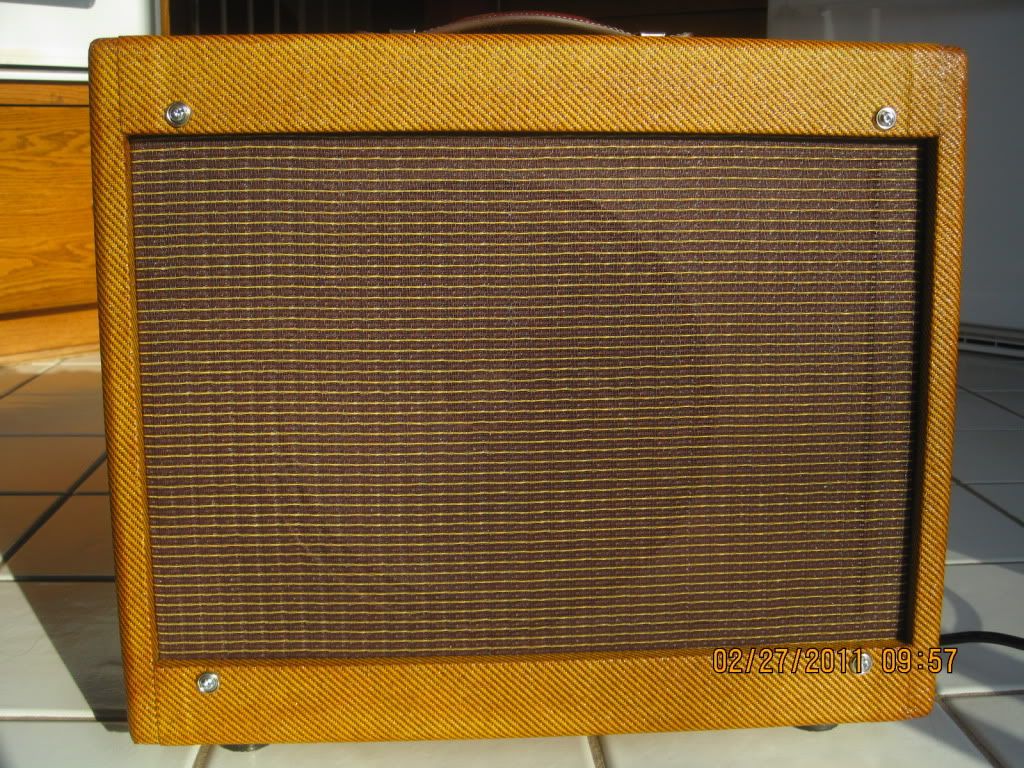
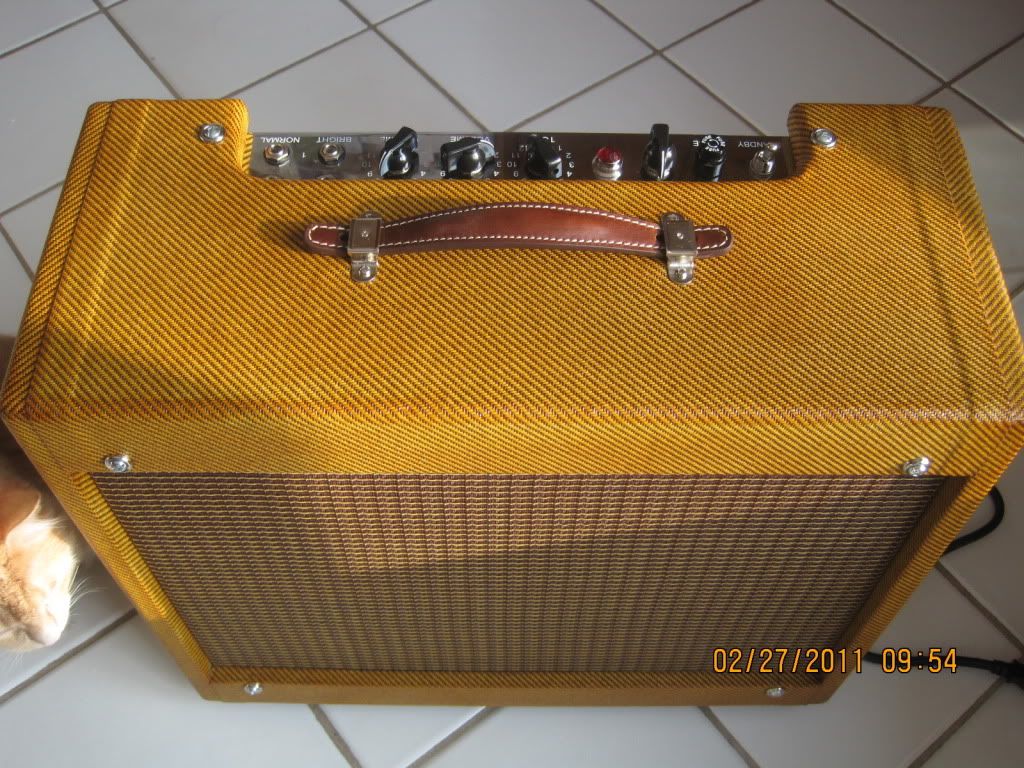
Well folks, It's been about 3+ weeks since I started my first guitar amp build, and I thought I would post some pics. I got alot of help from the good people here, and also from the posts with pictures and descriptions of builds. So, maybe someone else attempting a Deluxe build might benefit from my experience.
1st up - The finished amp and chassis: I used clear 3/4 inch pine for the top and sides, 12mm Baltic birch for the baffle board and 5mm Baltic birch for the back panels. I purchased the wood from The Wood Source:
http://www.wood-source.com/about_us/index.shtml here in Ottawa. The tweed, grill cloth, Jenson speaker, the handle and feet I purchased from Mojo. I used a water based contact cement for the tweed that worked terrific. 2 coats of Bullseye amber shellac finished it off nicely.

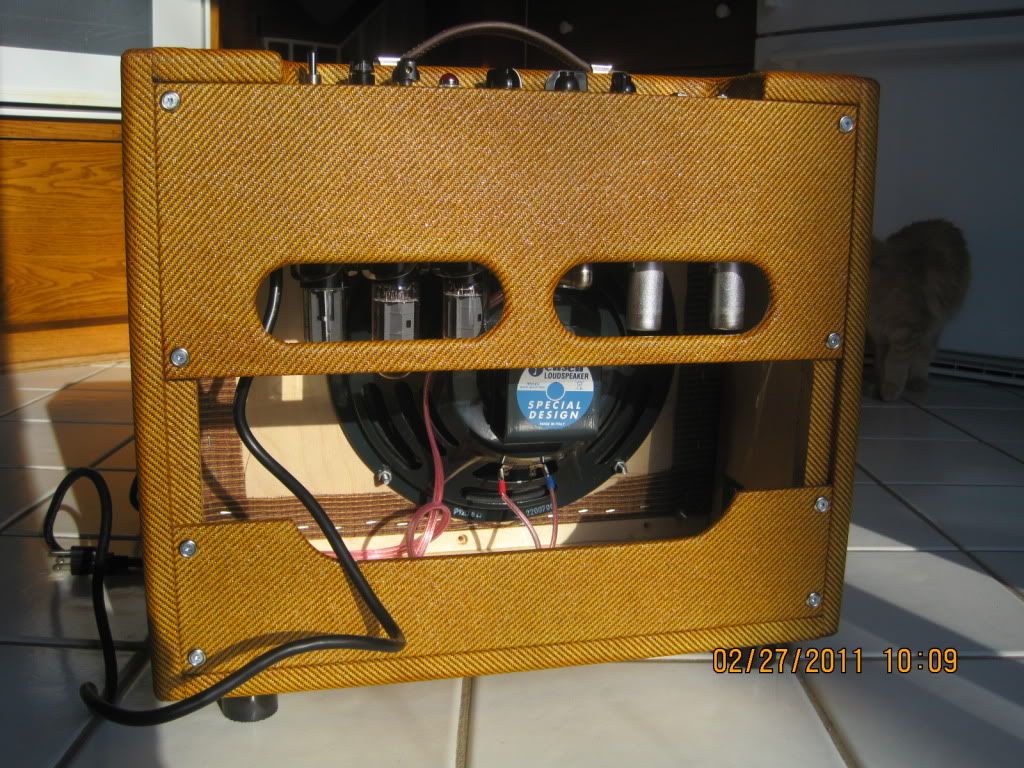
Here's the open back:
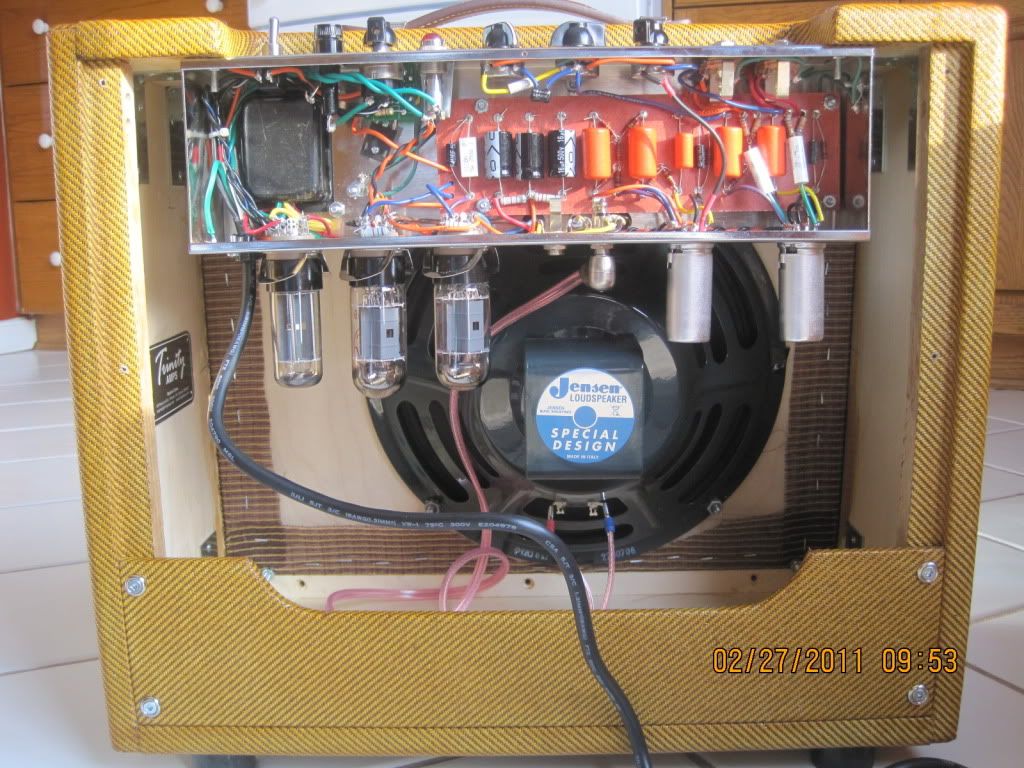
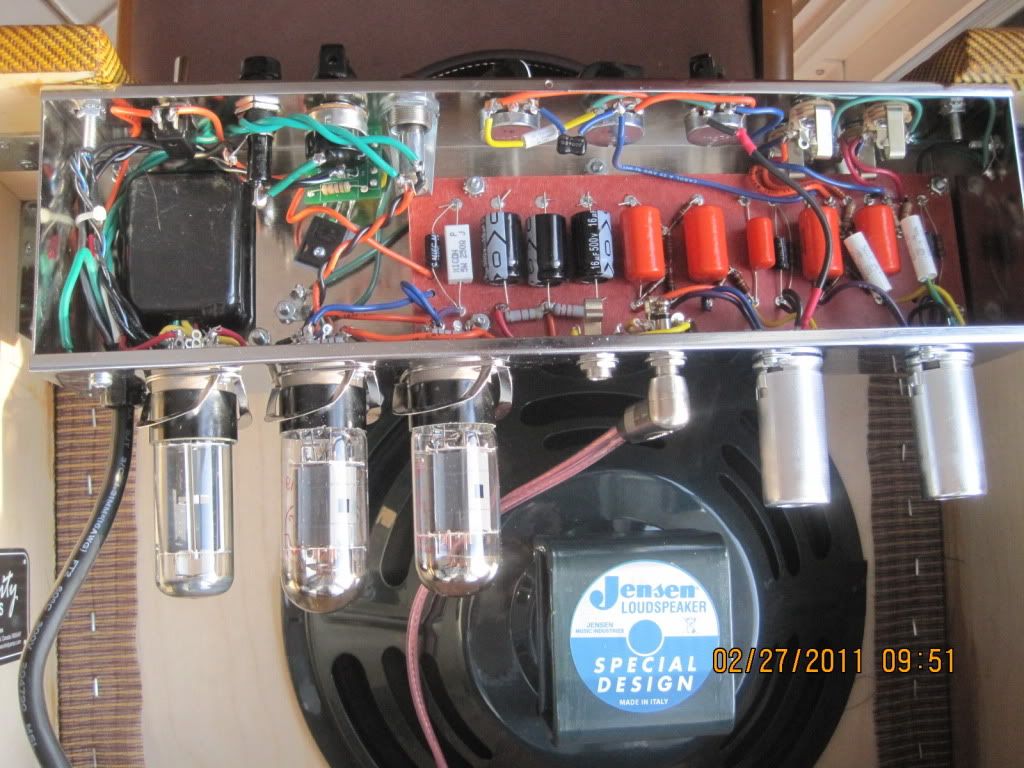
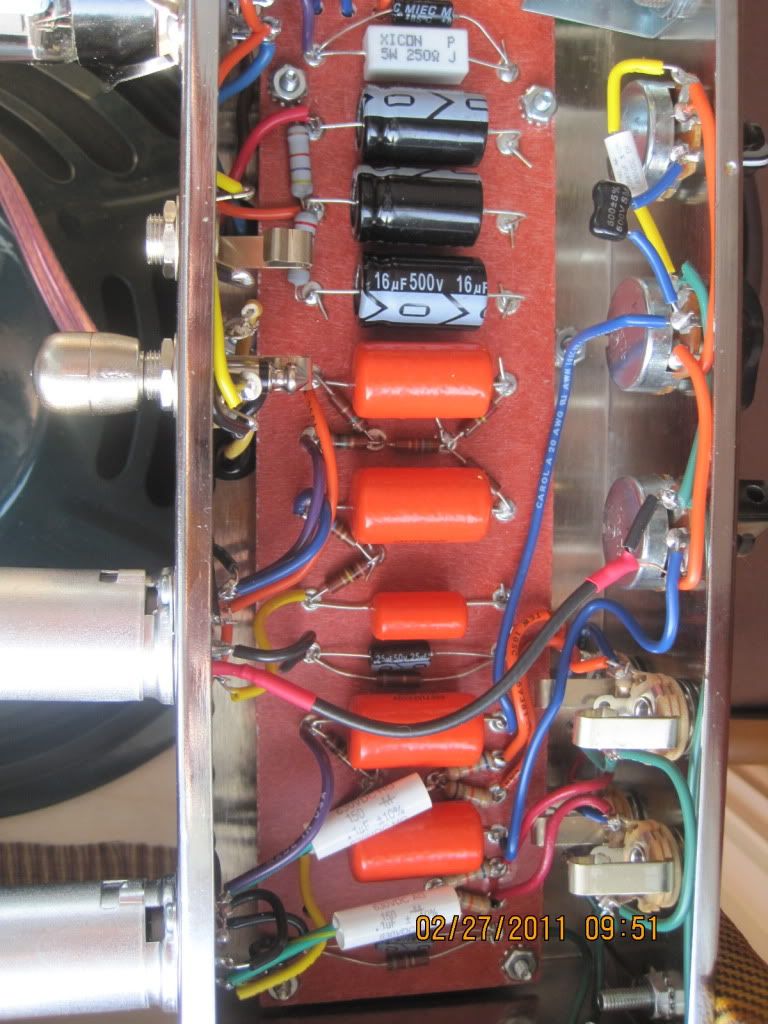
Now the Board and separate components:
The VRM- This was the 1st component I soldered, and didn't have any issues with it.
Here's some pics of the rest of the chassis part by part:
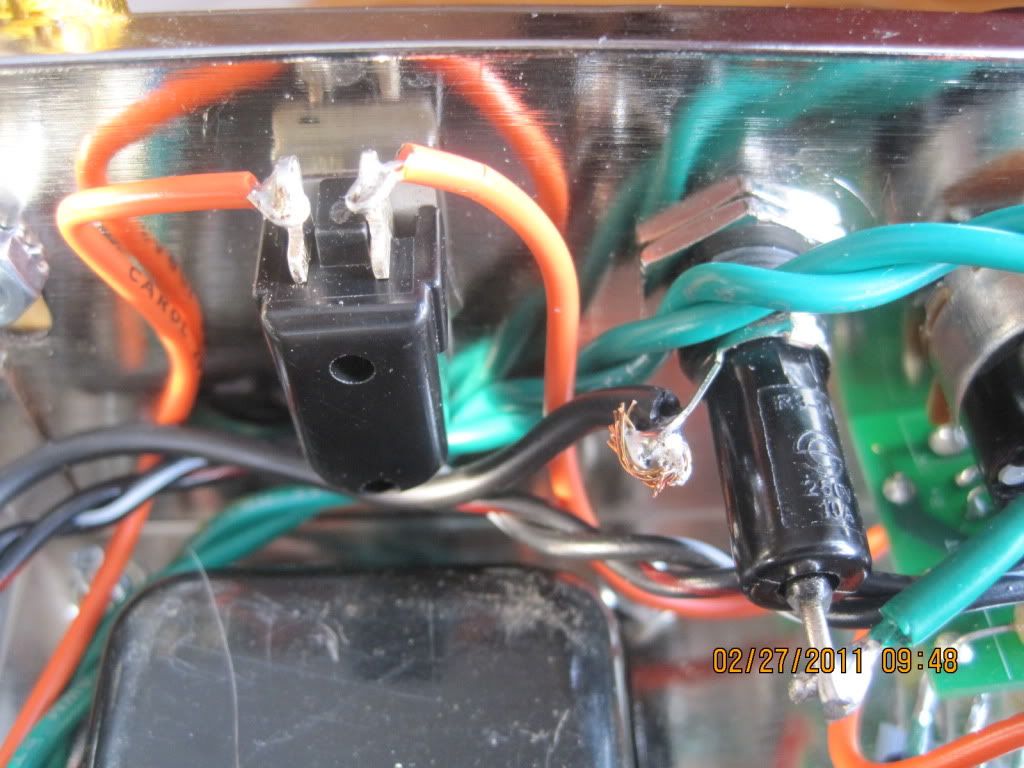
Standby and fuse:
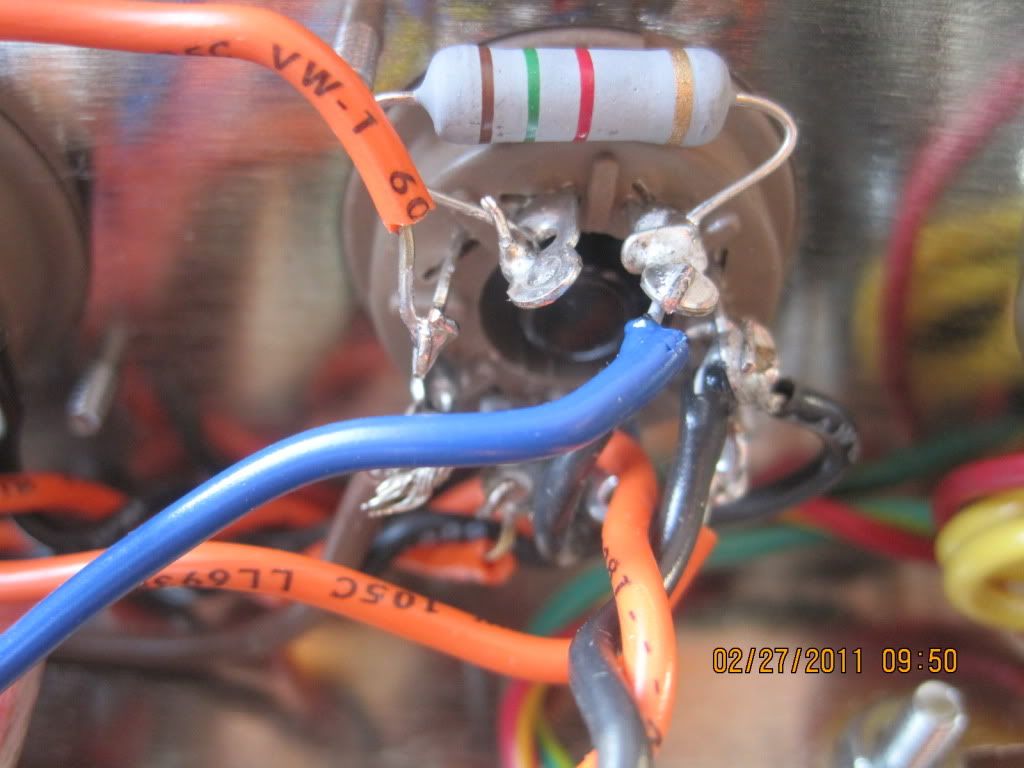
Rectifier:
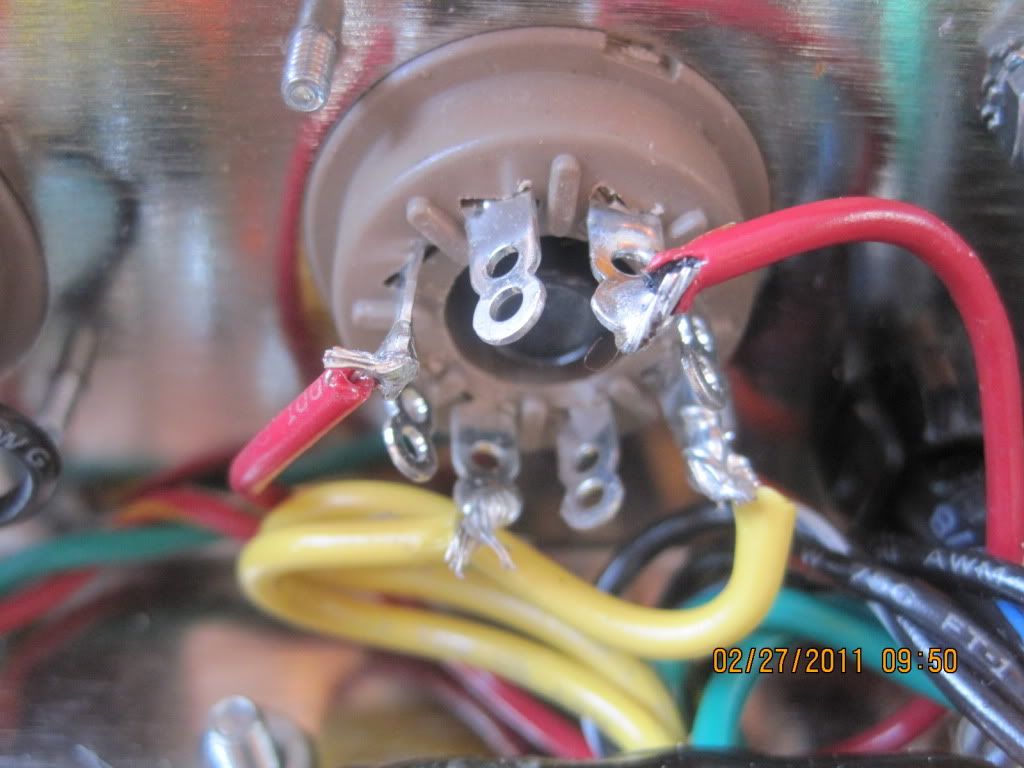
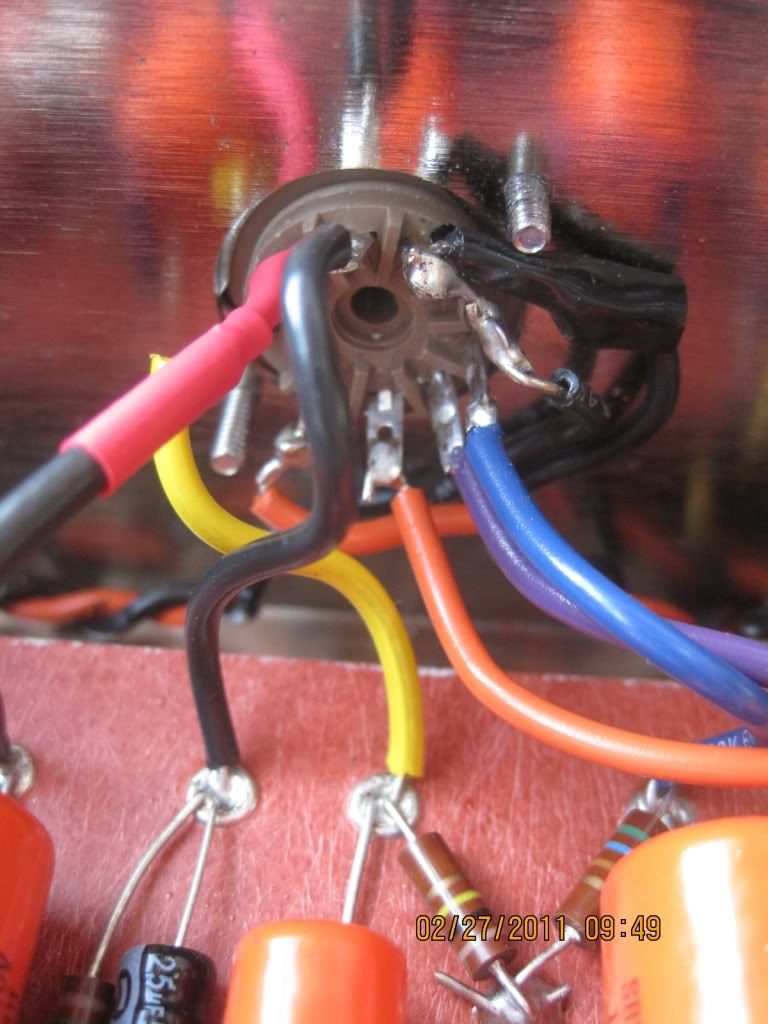
Power tubes:

Output jacks:
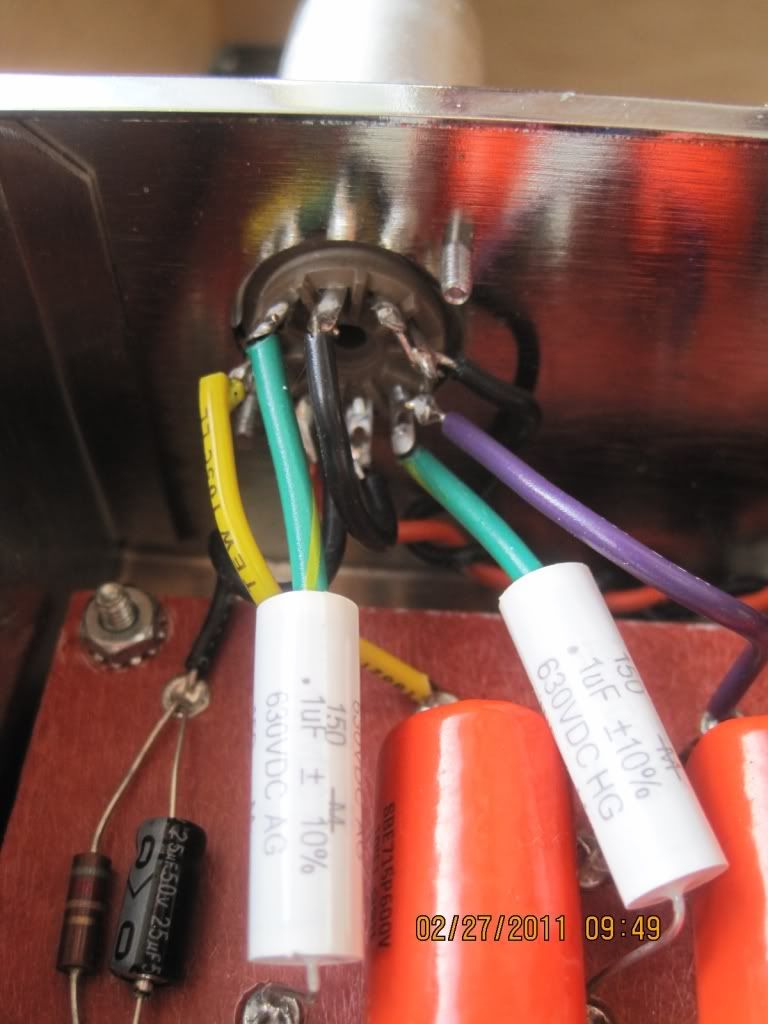
Preamp tubes: Doing my last check before powering up I noticed I had forgotten to tie pins 4 and 5 of the pre-amp tubes together.
Input jacks:
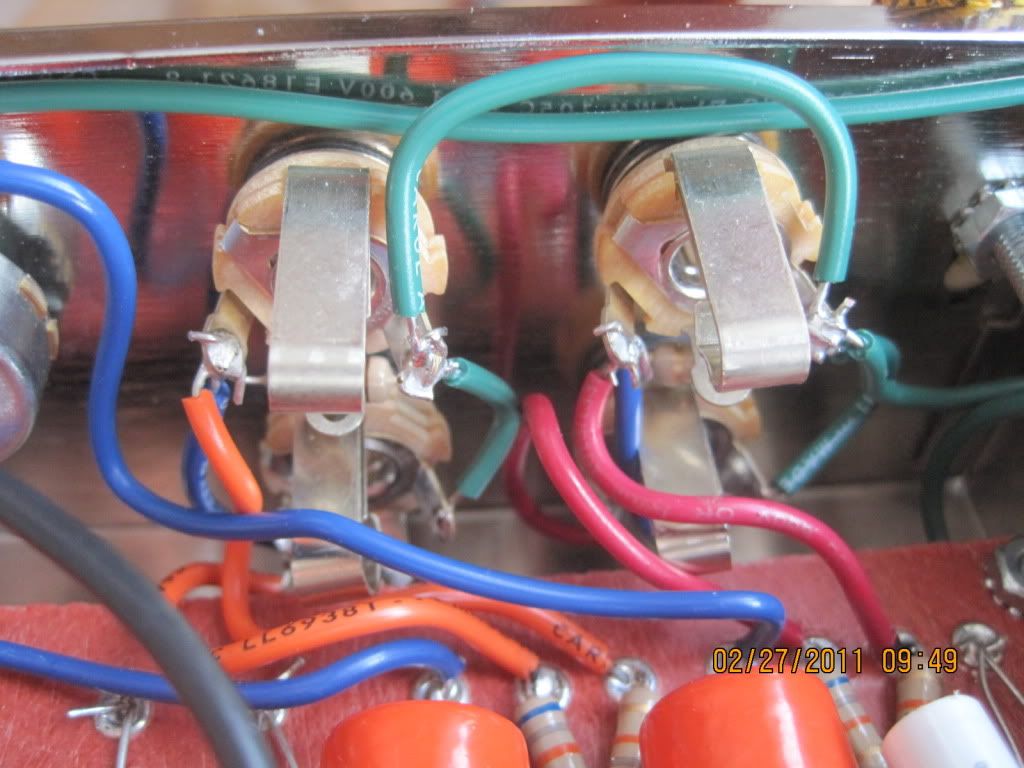
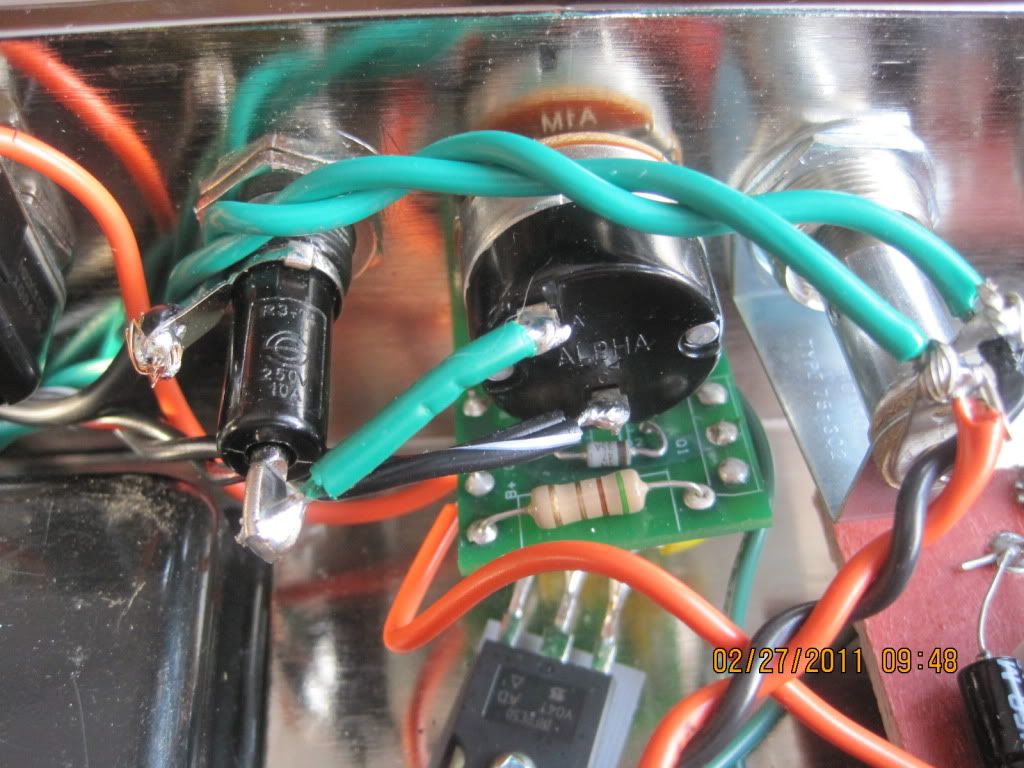
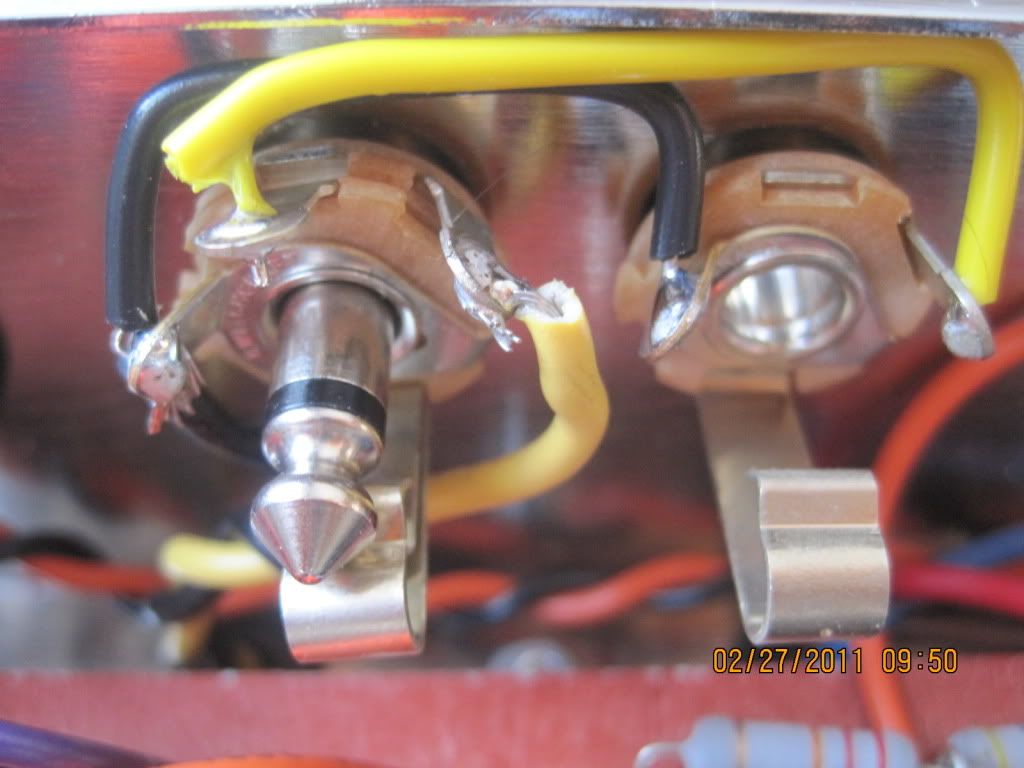
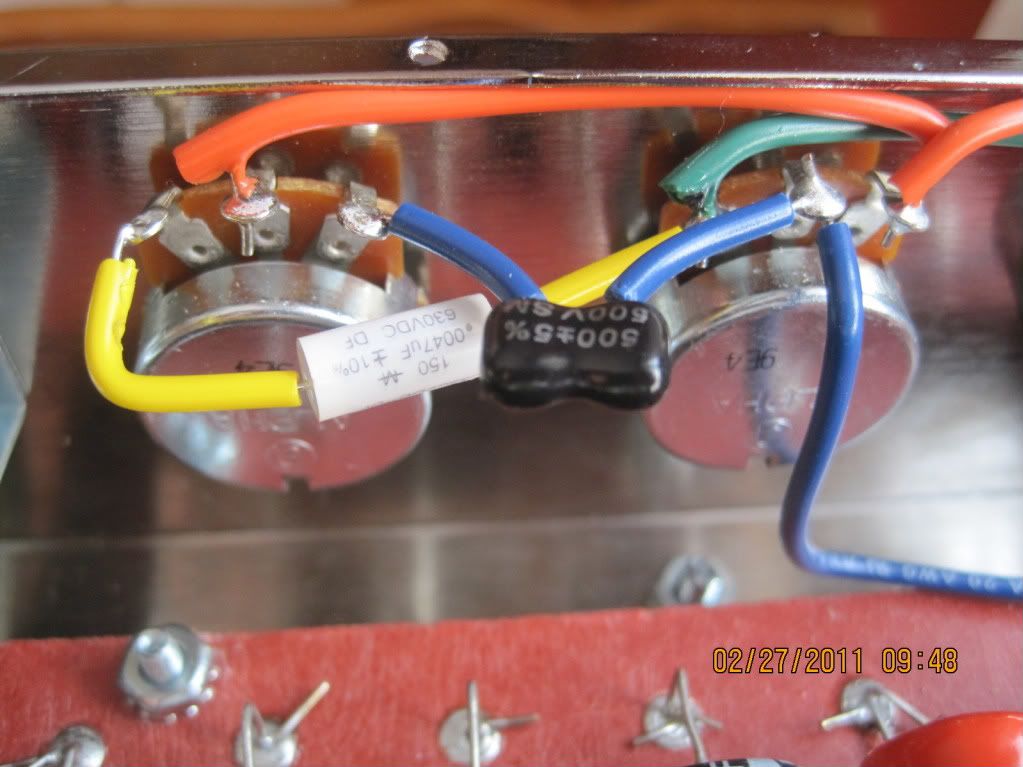
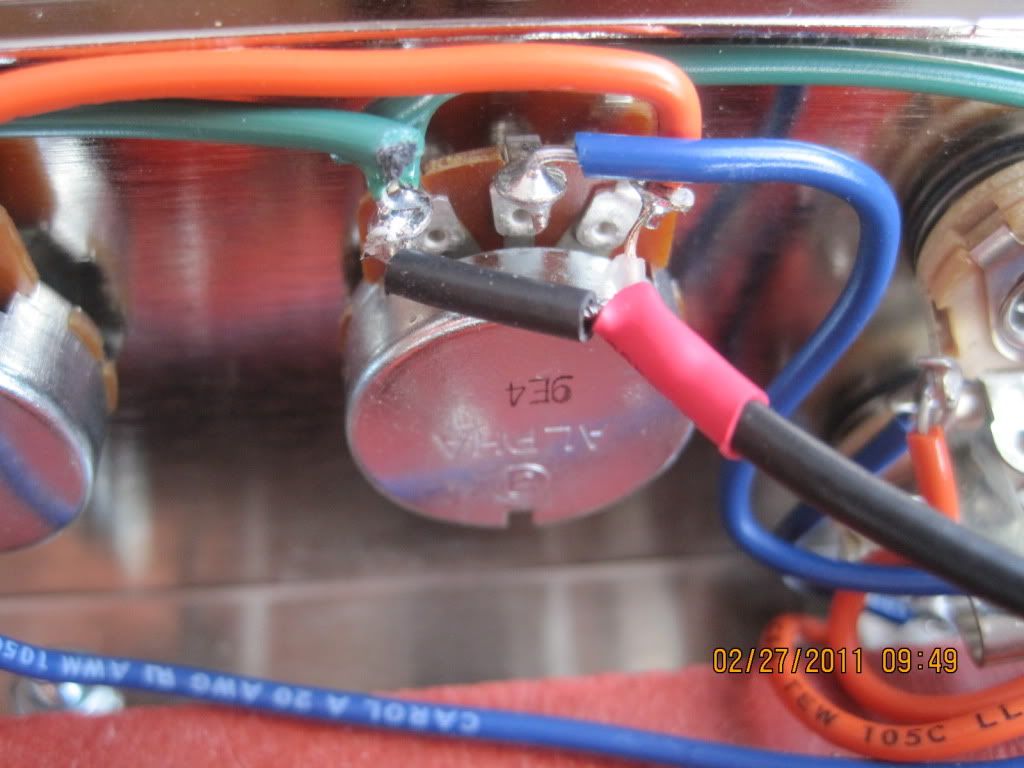
Volume and Tone Pots:
What a blast when I powered this thing up and it worked! All's I can say is it's a great feeling to have an amp that sounds so Creamy and with so many different tones (it'll take some playing around to figure this thing out) and to know that I put the time and research in to put it together. But, I couldn't have done it without the help of the good people on this forum!
Stephen, thanx so much for putting together the instructions which made it fairly easy even for a layman like me, and a
quality product. Now I can put the tools away and get back to makin' music.
Cheers
Clay


