trinityamps.com

Trinity Amps Guitar Amp Forum
It is currently Tue Jul 16, 2024 10:30 am

All times are UTC - 5 hours [ DST ]


Post new topic Reply to topic  [ 5 posts ] 
Author Message
PostPosted: Mon Feb 28, 2011 2:30 pm 
Offline

Joined: Tue Jan 25, 2011 4:40 pm
Posts: 9
Location: Ottawa, ON, Canada
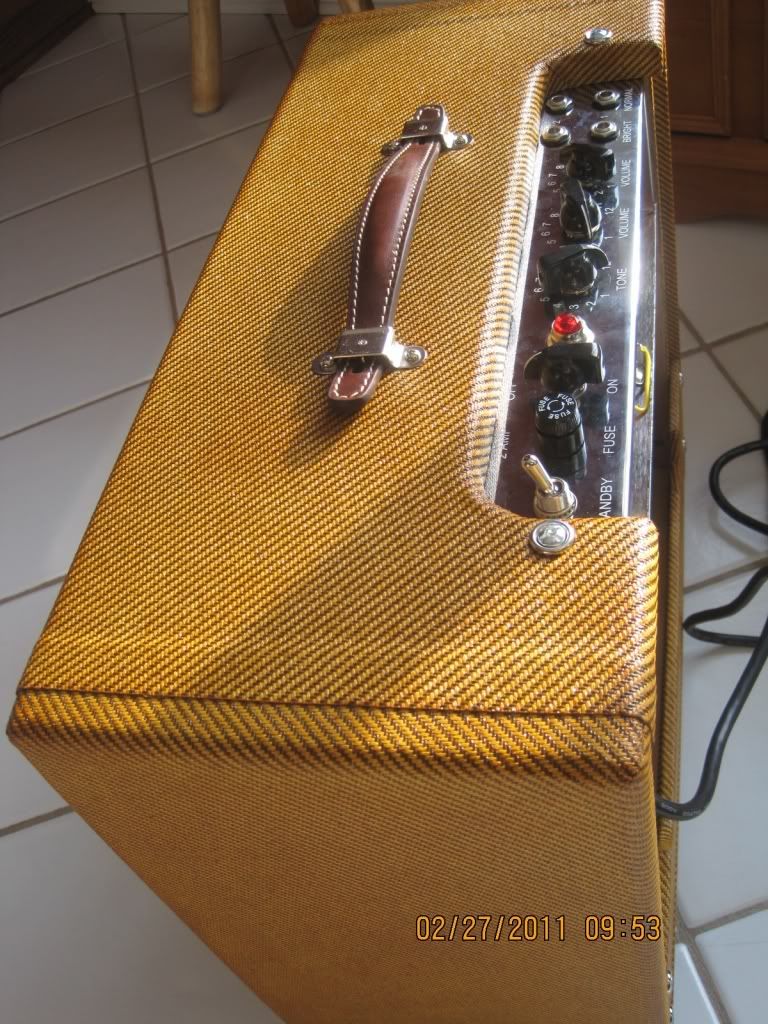
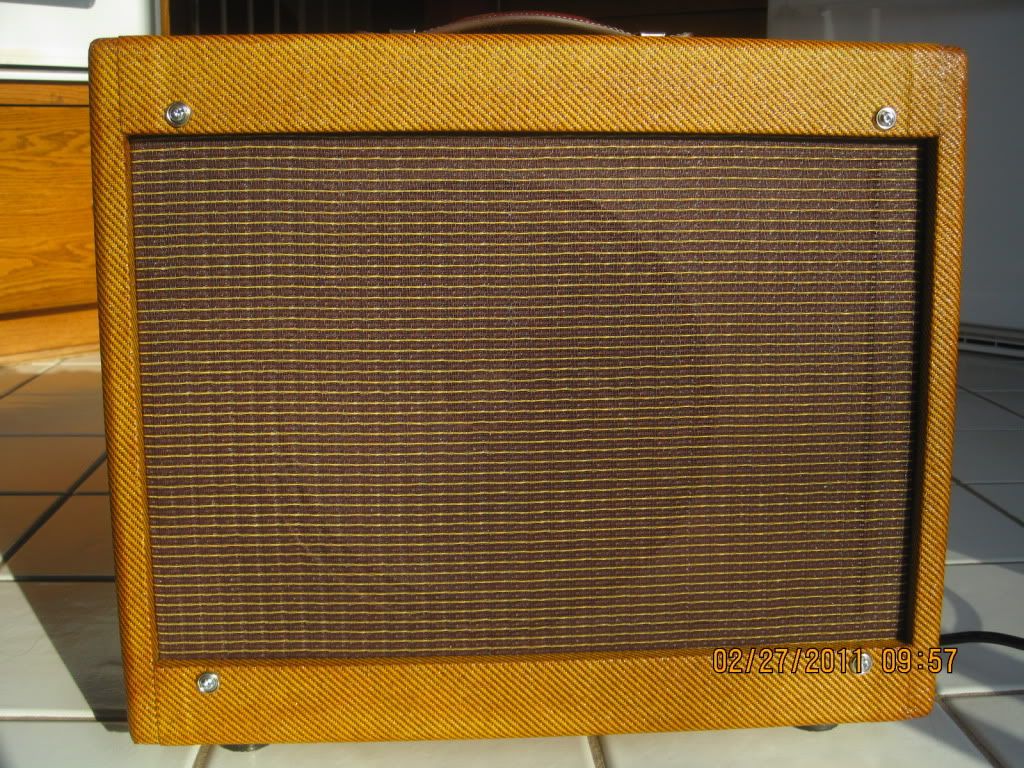
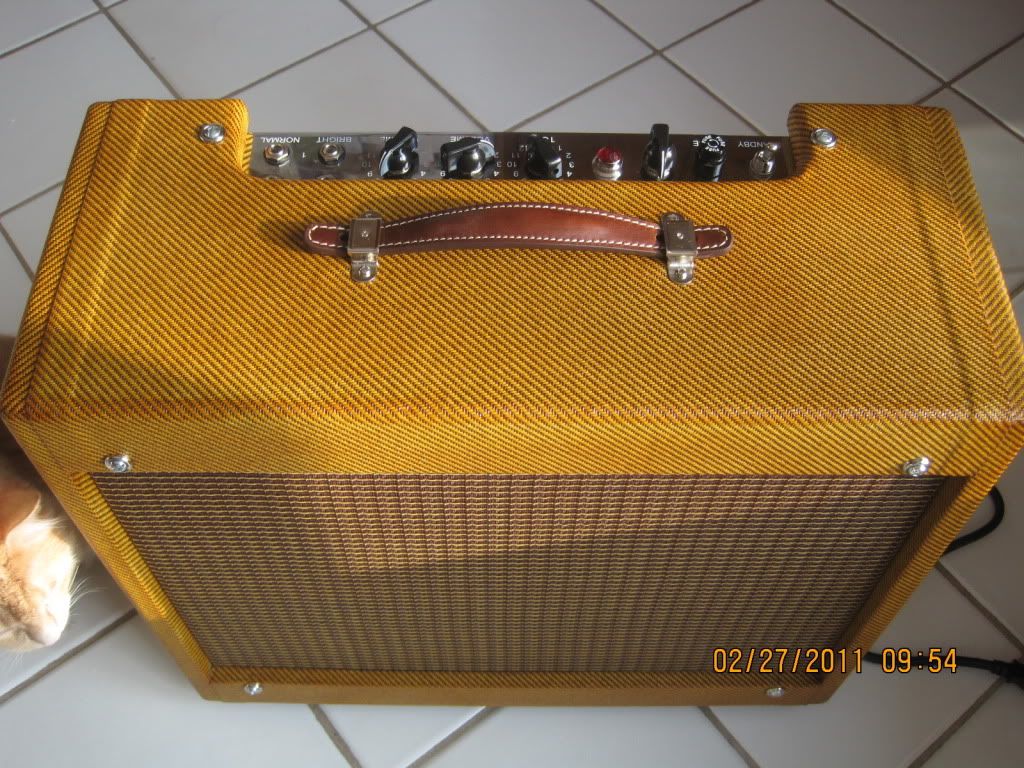
Well folks, It's been about 3+ weeks since I started my first guitar amp build, and I thought I would post some pics. I got alot of help from the good people here, and also from the posts with pictures and descriptions of builds. So, maybe someone else attempting a Deluxe build might benefit from my experience.

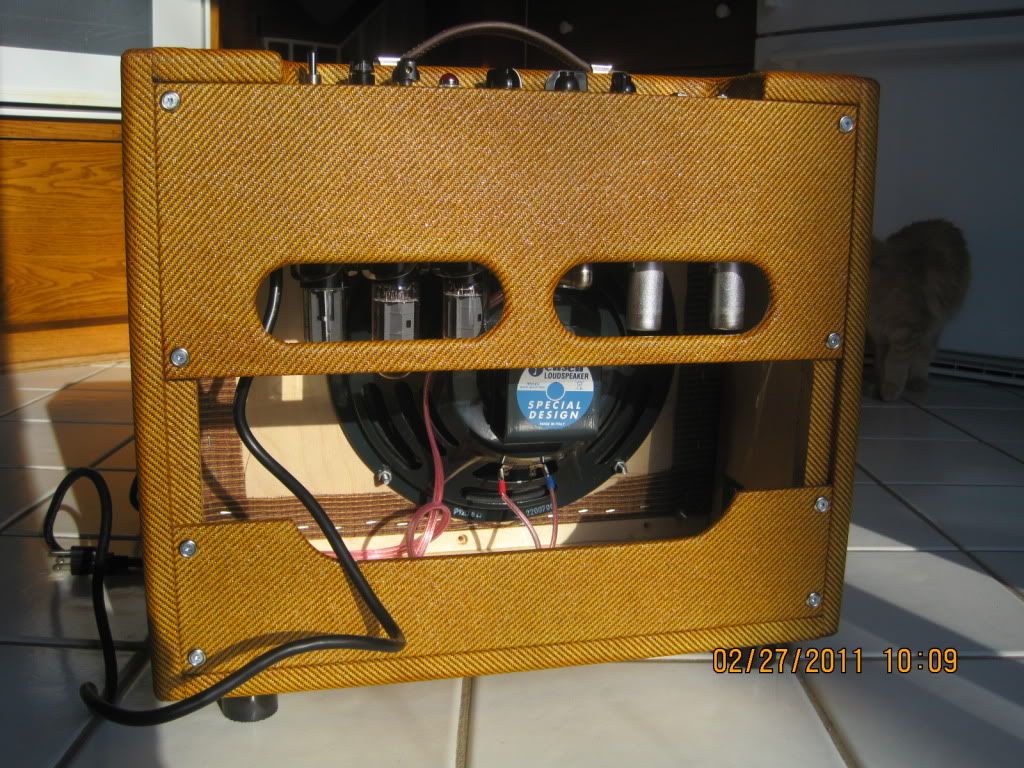
1st up - The finished amp and chassis: I used clear 3/4 inch pine for the top and sides, 12mm Baltic birch for the baffle board and 5mm Baltic birch for the back panels. I purchased the wood from The Wood Source:http://www.wood-source.com/about_us/index.shtml here in Ottawa. The tweed, grill cloth, Jenson speaker, the handle and feet I purchased from Mojo. I used a water based contact cement for the tweed that worked terrific. 2 coats of Bullseye amber shellac finished it off nicely.
Image

Image

Image

Image


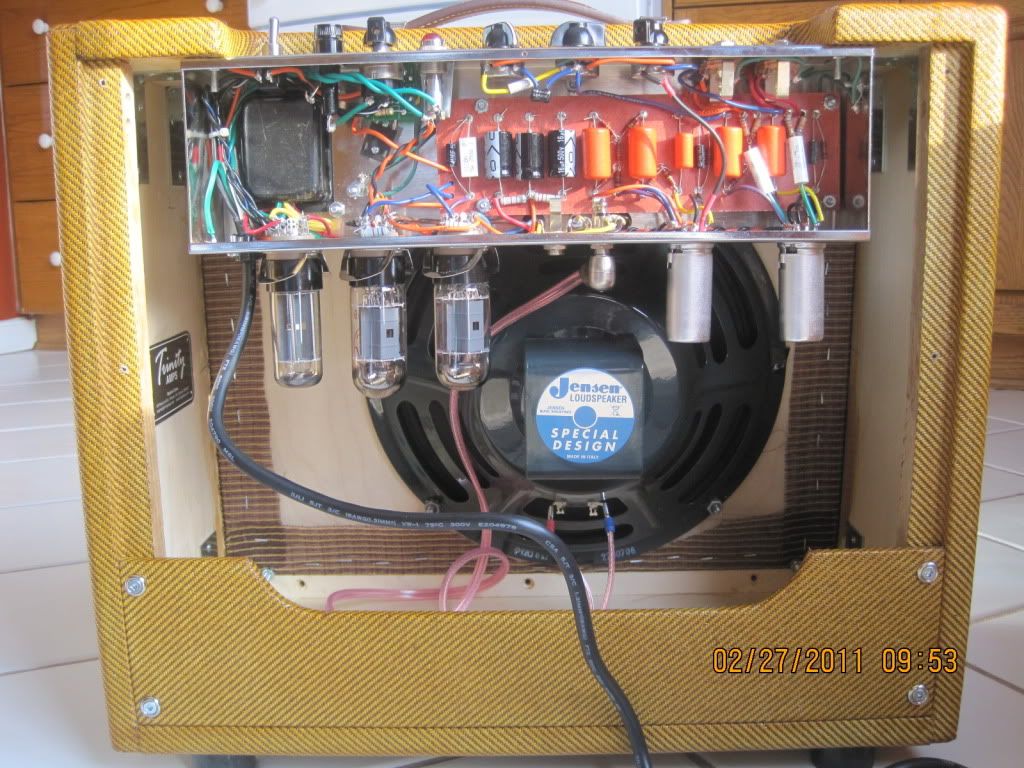
Here's the open back:

Image

Image


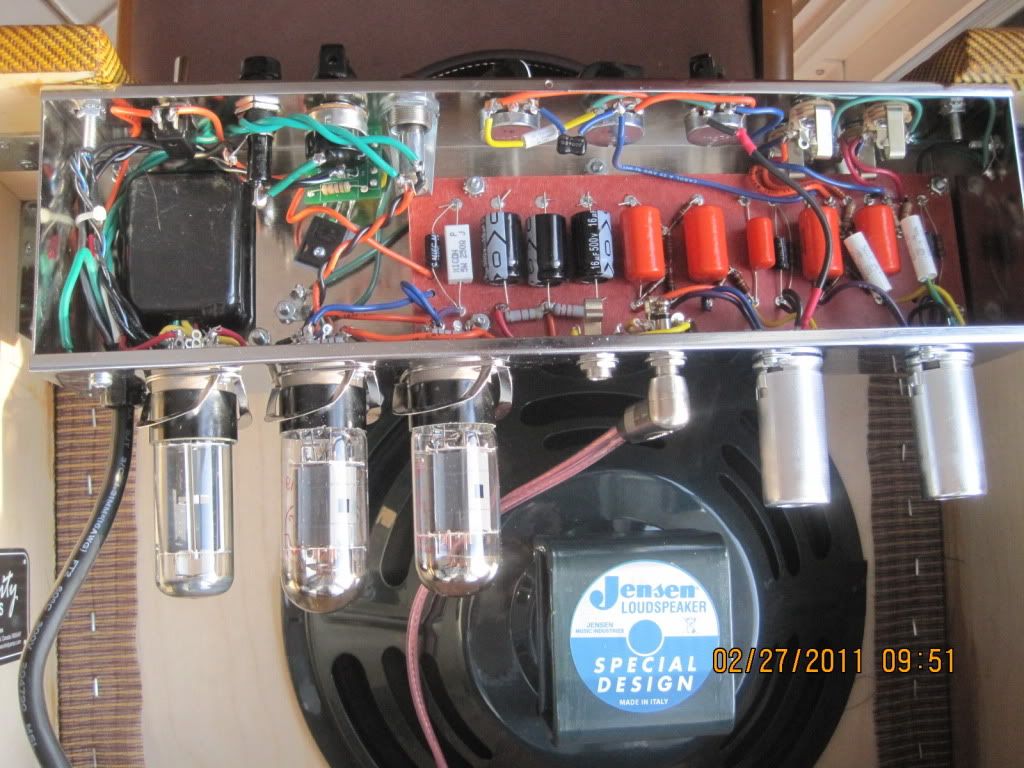
Now the Board and separate components:
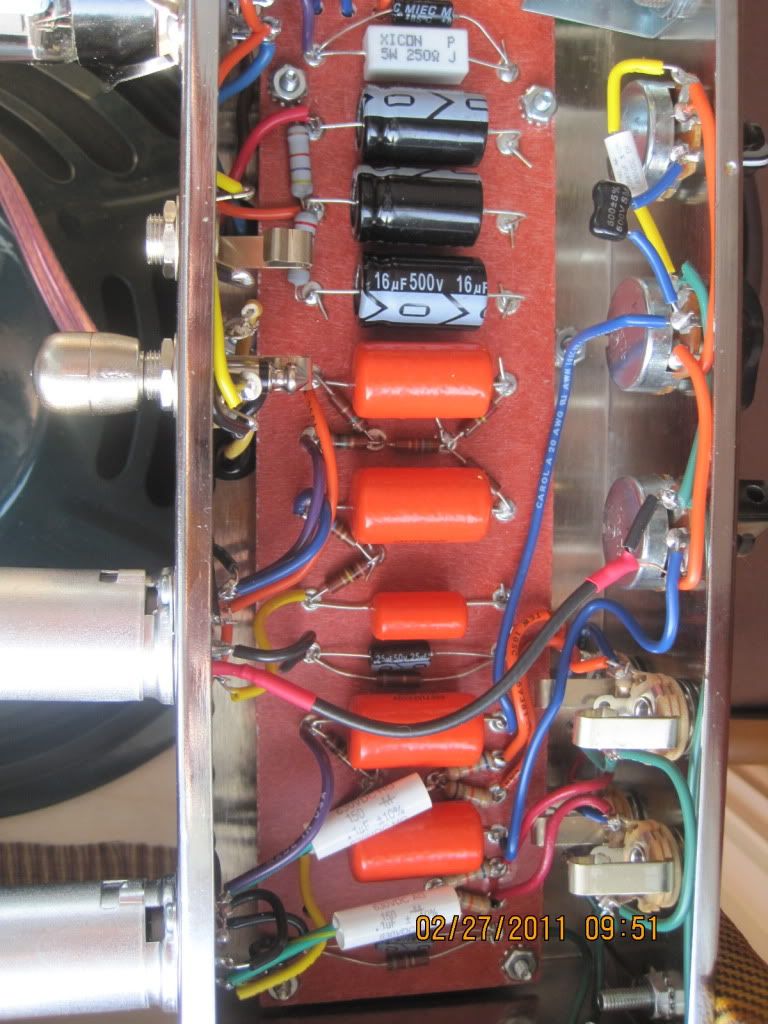
Image

The VRM- This was the 1st component I soldered, and didn't have any issues with it.
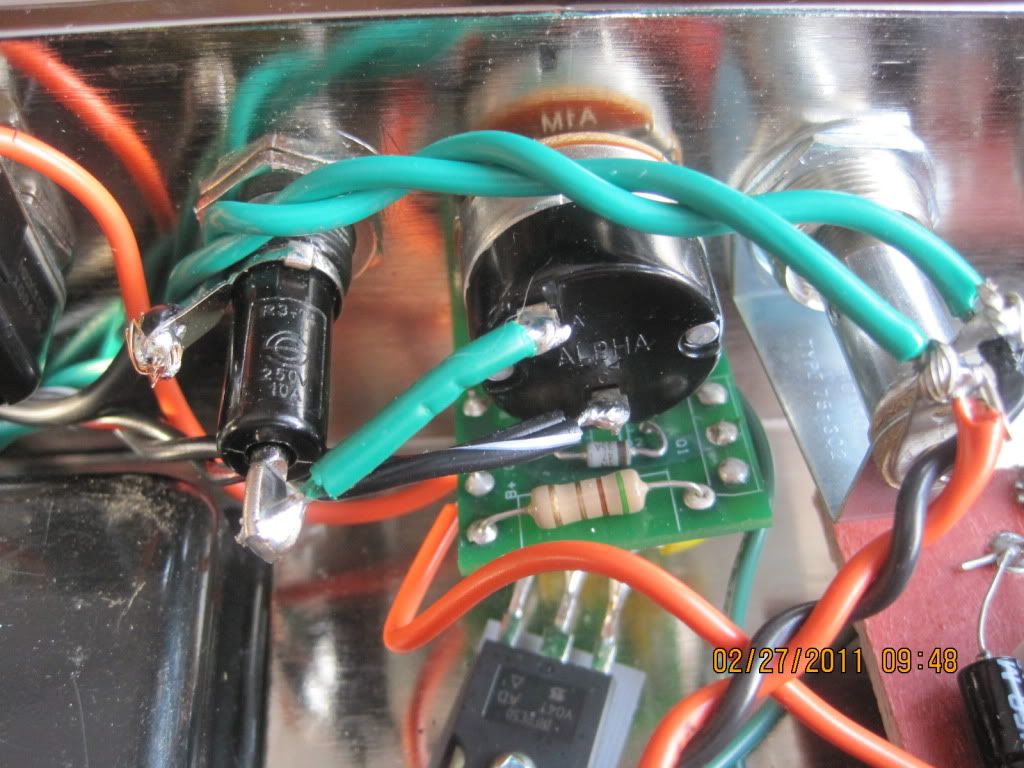
Image

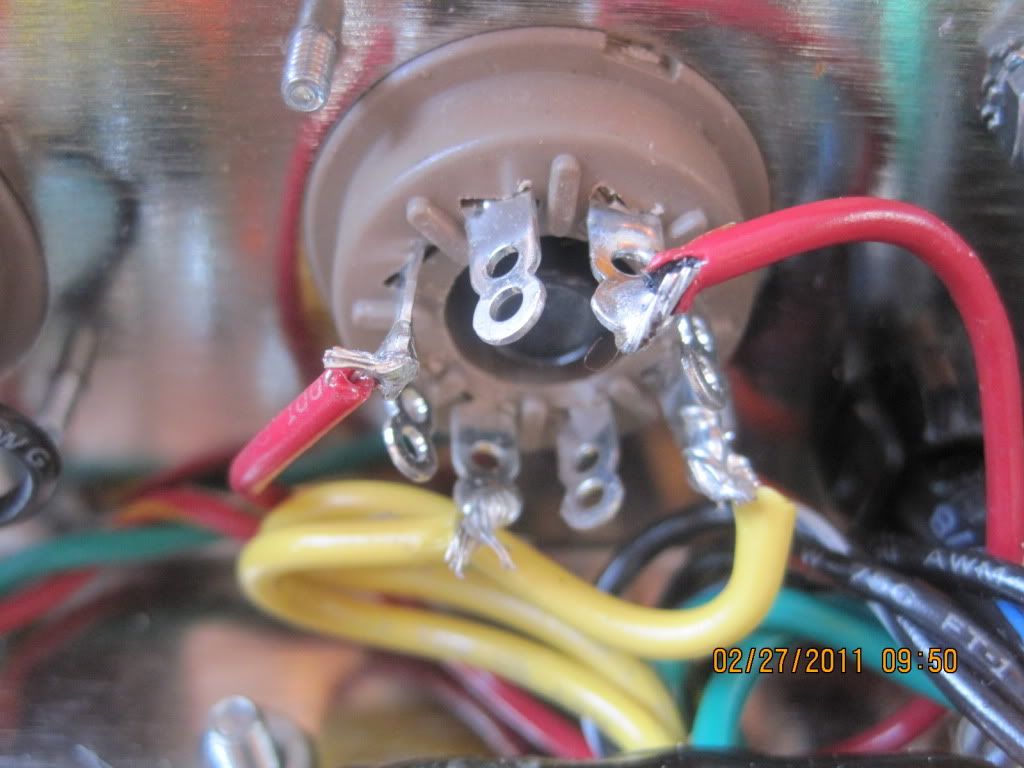
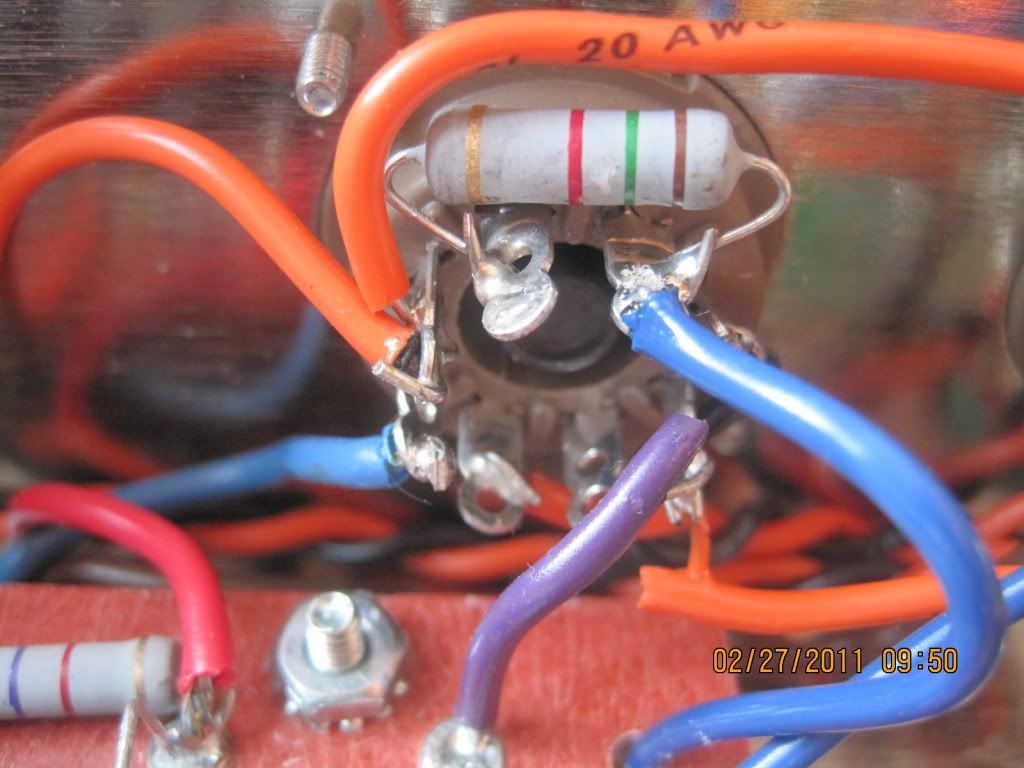
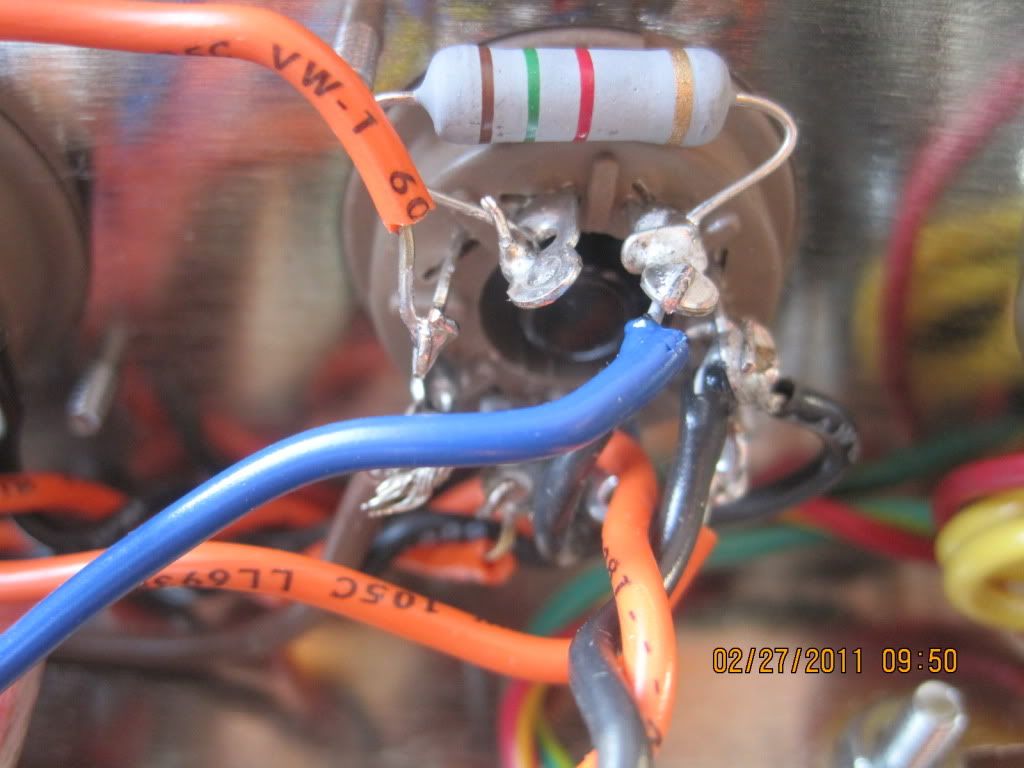
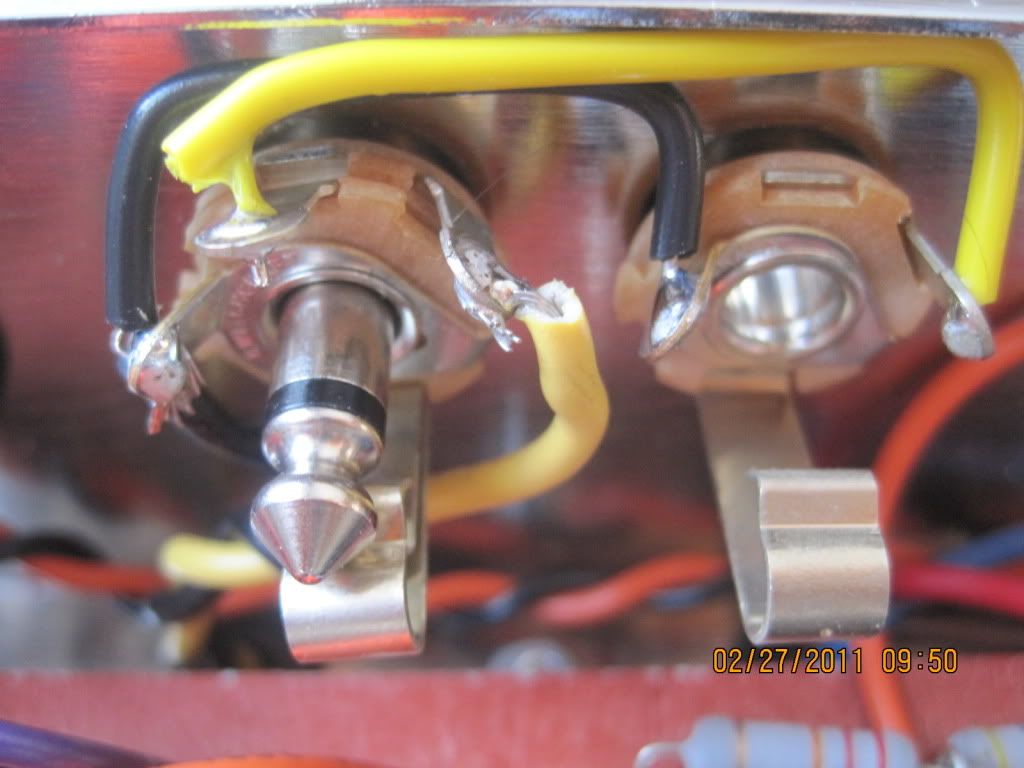
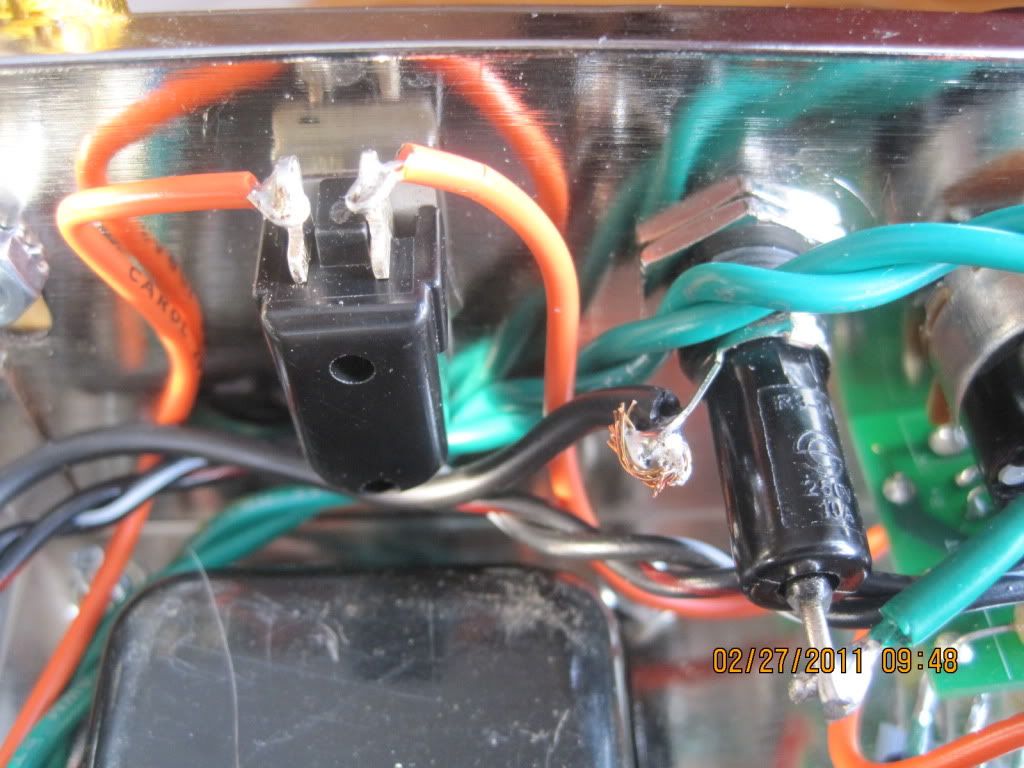
Here's some pics of the rest of the chassis part by part:

Standby and fuse:
Image

Rectifier:
Image

Power tubes:
Image
Image

Output jacks:
Image

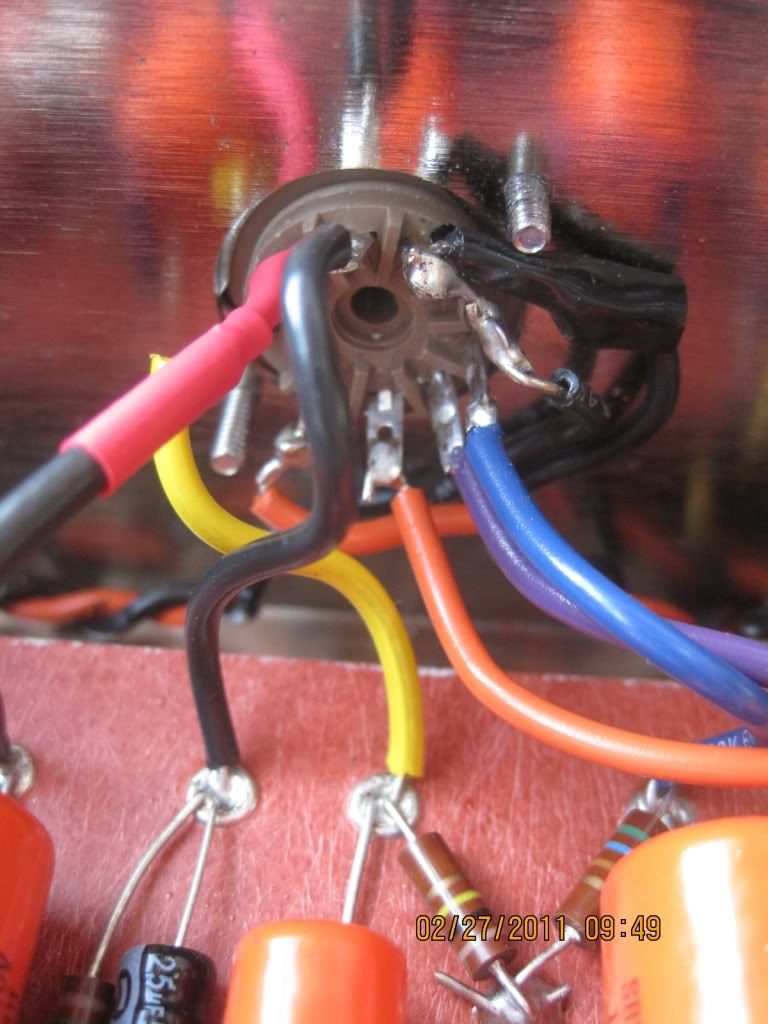
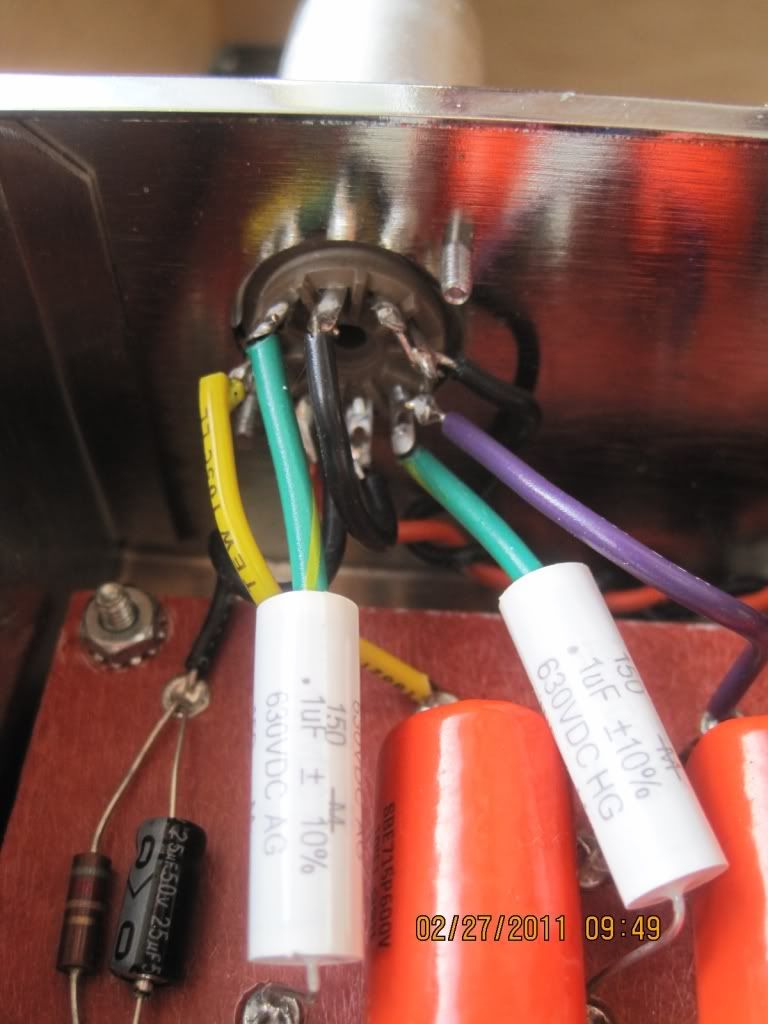
Preamp tubes: Doing my last check before powering up I noticed I had forgotten to tie pins 4 and 5 of the pre-amp tubes together.
Image
Image

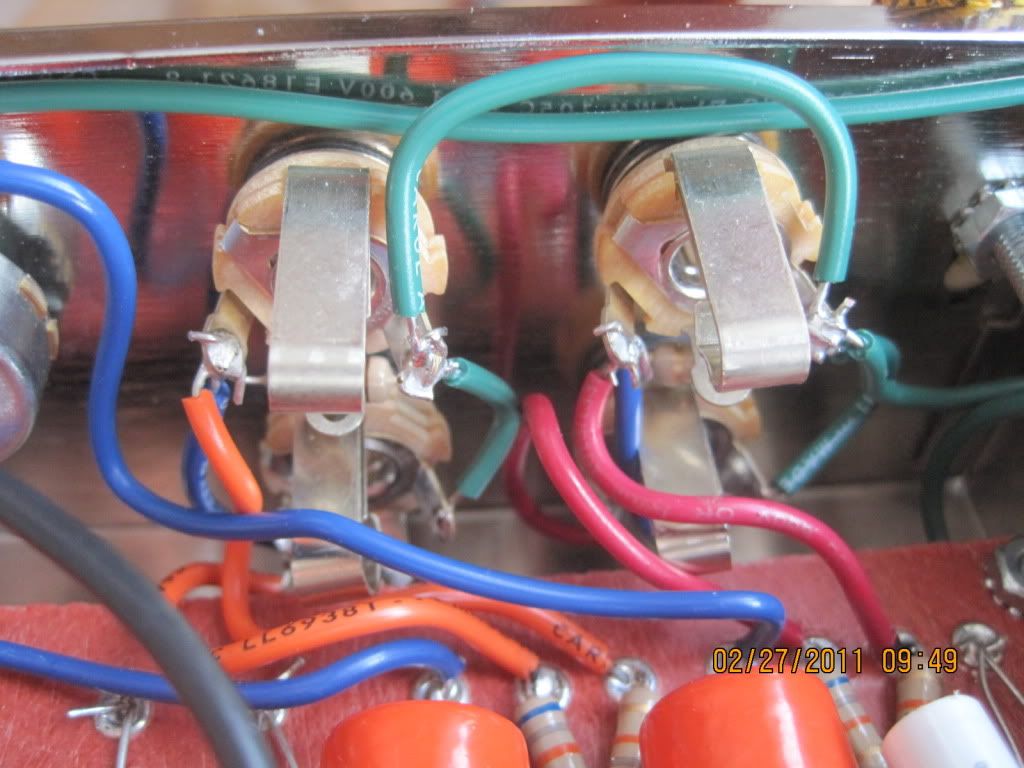
Input jacks:
Image

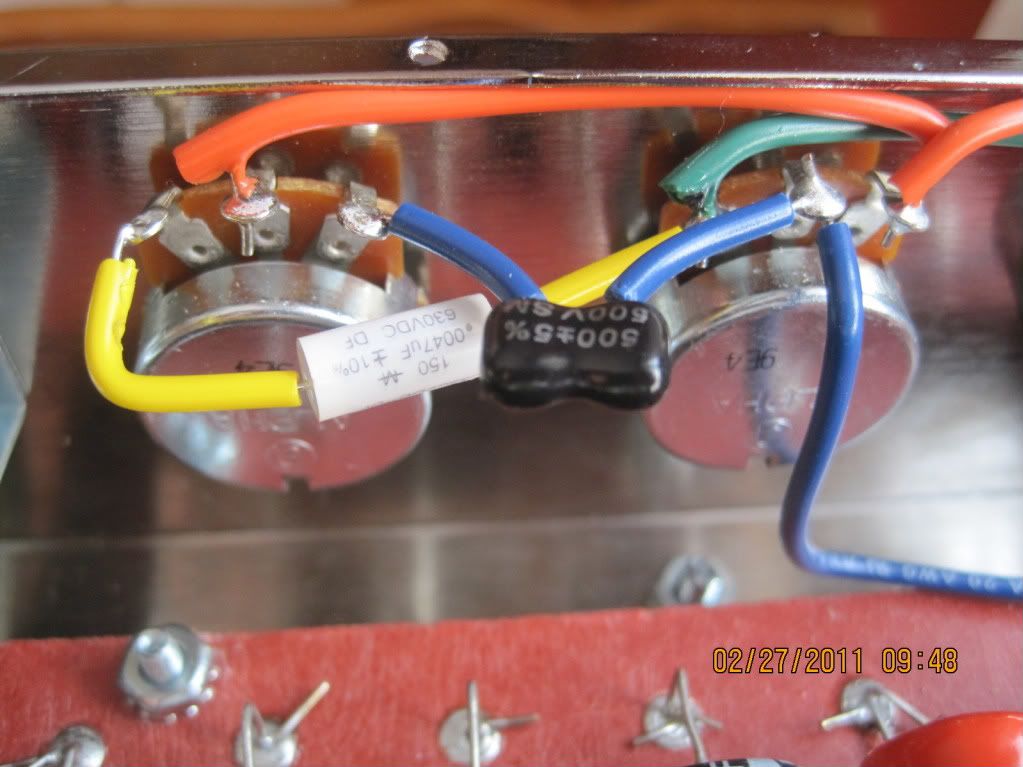
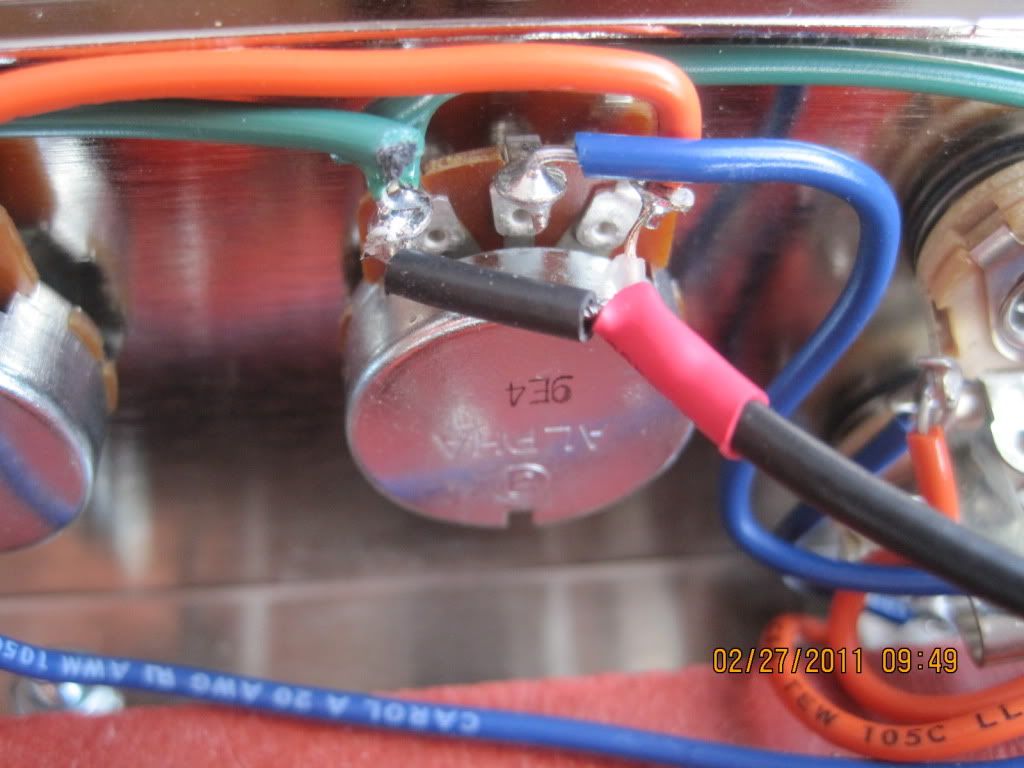
Volume and Tone Pots:
Image
Image


What a blast when I powered this thing up and it worked! All's I can say is it's a great feeling to have an amp that sounds so Creamy and with so many different tones (it'll take some playing around to figure this thing out) and to know that I put the time and research in to put it together. But, I couldn't have done it without the help of the good people on this forum!

Stephen, thanx so much for putting together the instructions which made it fairly easy even for a layman like me, and a
quality product. Now I can put the tools away and get back to makin' music.

Cheers
Clay


Last edited by clayman11 on Mon Feb 28, 2011 3:49 pm, edited 1 time in total.

Top
 Profile  
 
PostPosted: Mon Feb 28, 2011 3:34 pm 
Offline

Joined: Tue Jan 25, 2011 4:40 pm
Posts: 9
Location: Ottawa, ON, Canada
I'll see if I can get higher res photos up for my last post.

Clay


DONE!


Top
 Profile  
 
PostPosted: Mon Feb 28, 2011 6:31 pm 
Offline
Novice
Novice

Joined: Sun Feb 13, 2011 9:41 pm
Posts: 91
Location: Ontario, Canada
Amp looks great! Nice work on the cabinet too! You'll love playing this amp. I finished mine about 2 months ago and I'm still discovering new sounds.


Top
 Profile  
 
PostPosted: Tue Mar 01, 2011 11:21 am 
Offline

Joined: Tue Jan 25, 2011 4:40 pm
Posts: 9
Location: Ottawa, ON, Canada
Thanx Case24, your post was one that I referenced quite a bit when doing my research.
I love this amp.

Clay


Top
 Profile  
 
PostPosted: Wed Mar 23, 2011 12:33 pm 
Offline
Friend
Friend

Joined: Thu Mar 17, 2011 6:06 pm
Posts: 44
Location: Vancouver Island, BC
Beautiful build, great pictures - really helpful - and I especially appreciate the fact that you have revealed your method of adhesion! It's either a thing so obvious that only a fool such as I needs to ask, or it's a well-kept trade secret!


Top
 Profile  
 
Display posts from previous:  Sort by  
Post new topic Reply to topic  [ 5 posts ] 

All times are UTC - 5 hours [ DST ]


Who is online

Users browsing this forum: No registered users and 6 guests


You cannot post new topics in this forum
You cannot reply to topics in this forum
You cannot edit your posts in this forum
You cannot delete your posts in this forum
You cannot post attachments in this forum

Search for:
Jump to:  
Powered by phpBB® Forum Software © phpBB Group